Follow arrivals and review the check-in log
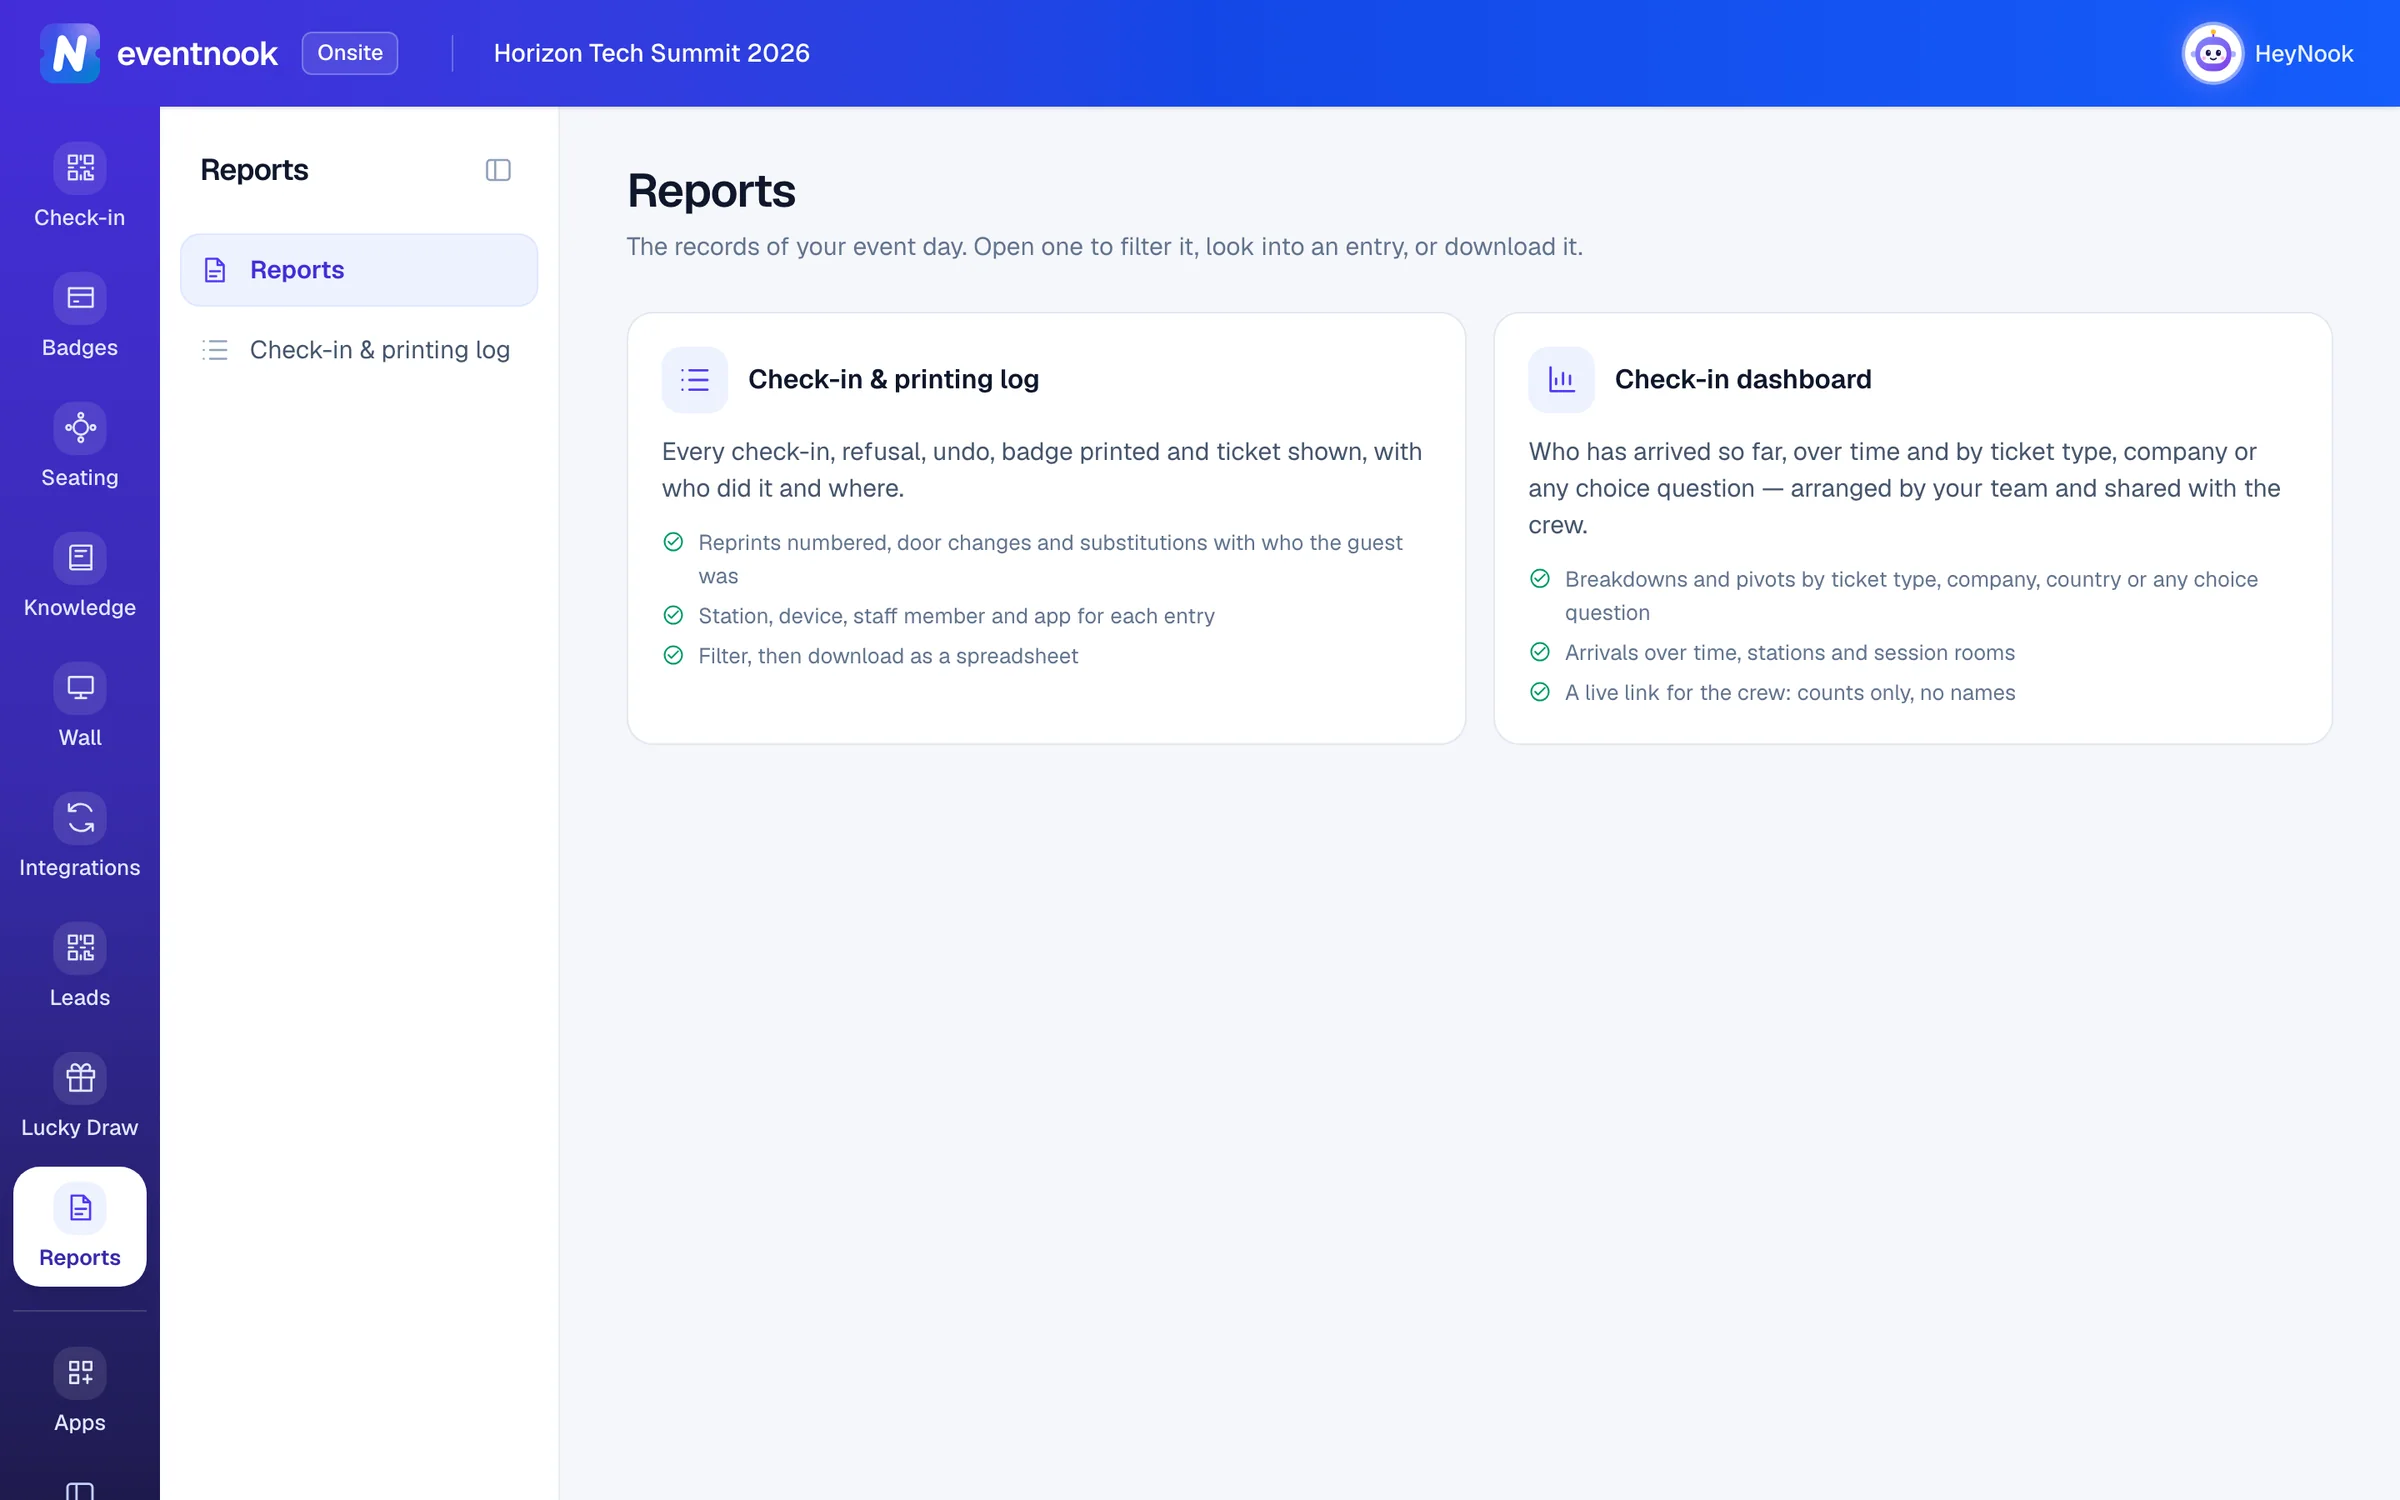
Arrange the live check-in dashboard, share it with your crew by link, and look back at every check-in, refusal and badge print in the check-in & printing log.
Where to find it: Onsite › Reports
Onsite keeps two kinds of report. The Overview is the live check-in dashboard: how the doors are doing right now, arranged by your team and shareable with the crew. The Check-in & printing log is the record to go back to: every scan, refusal, undo and badge print, with who did it and where.
Open Reports in the menu to see both.
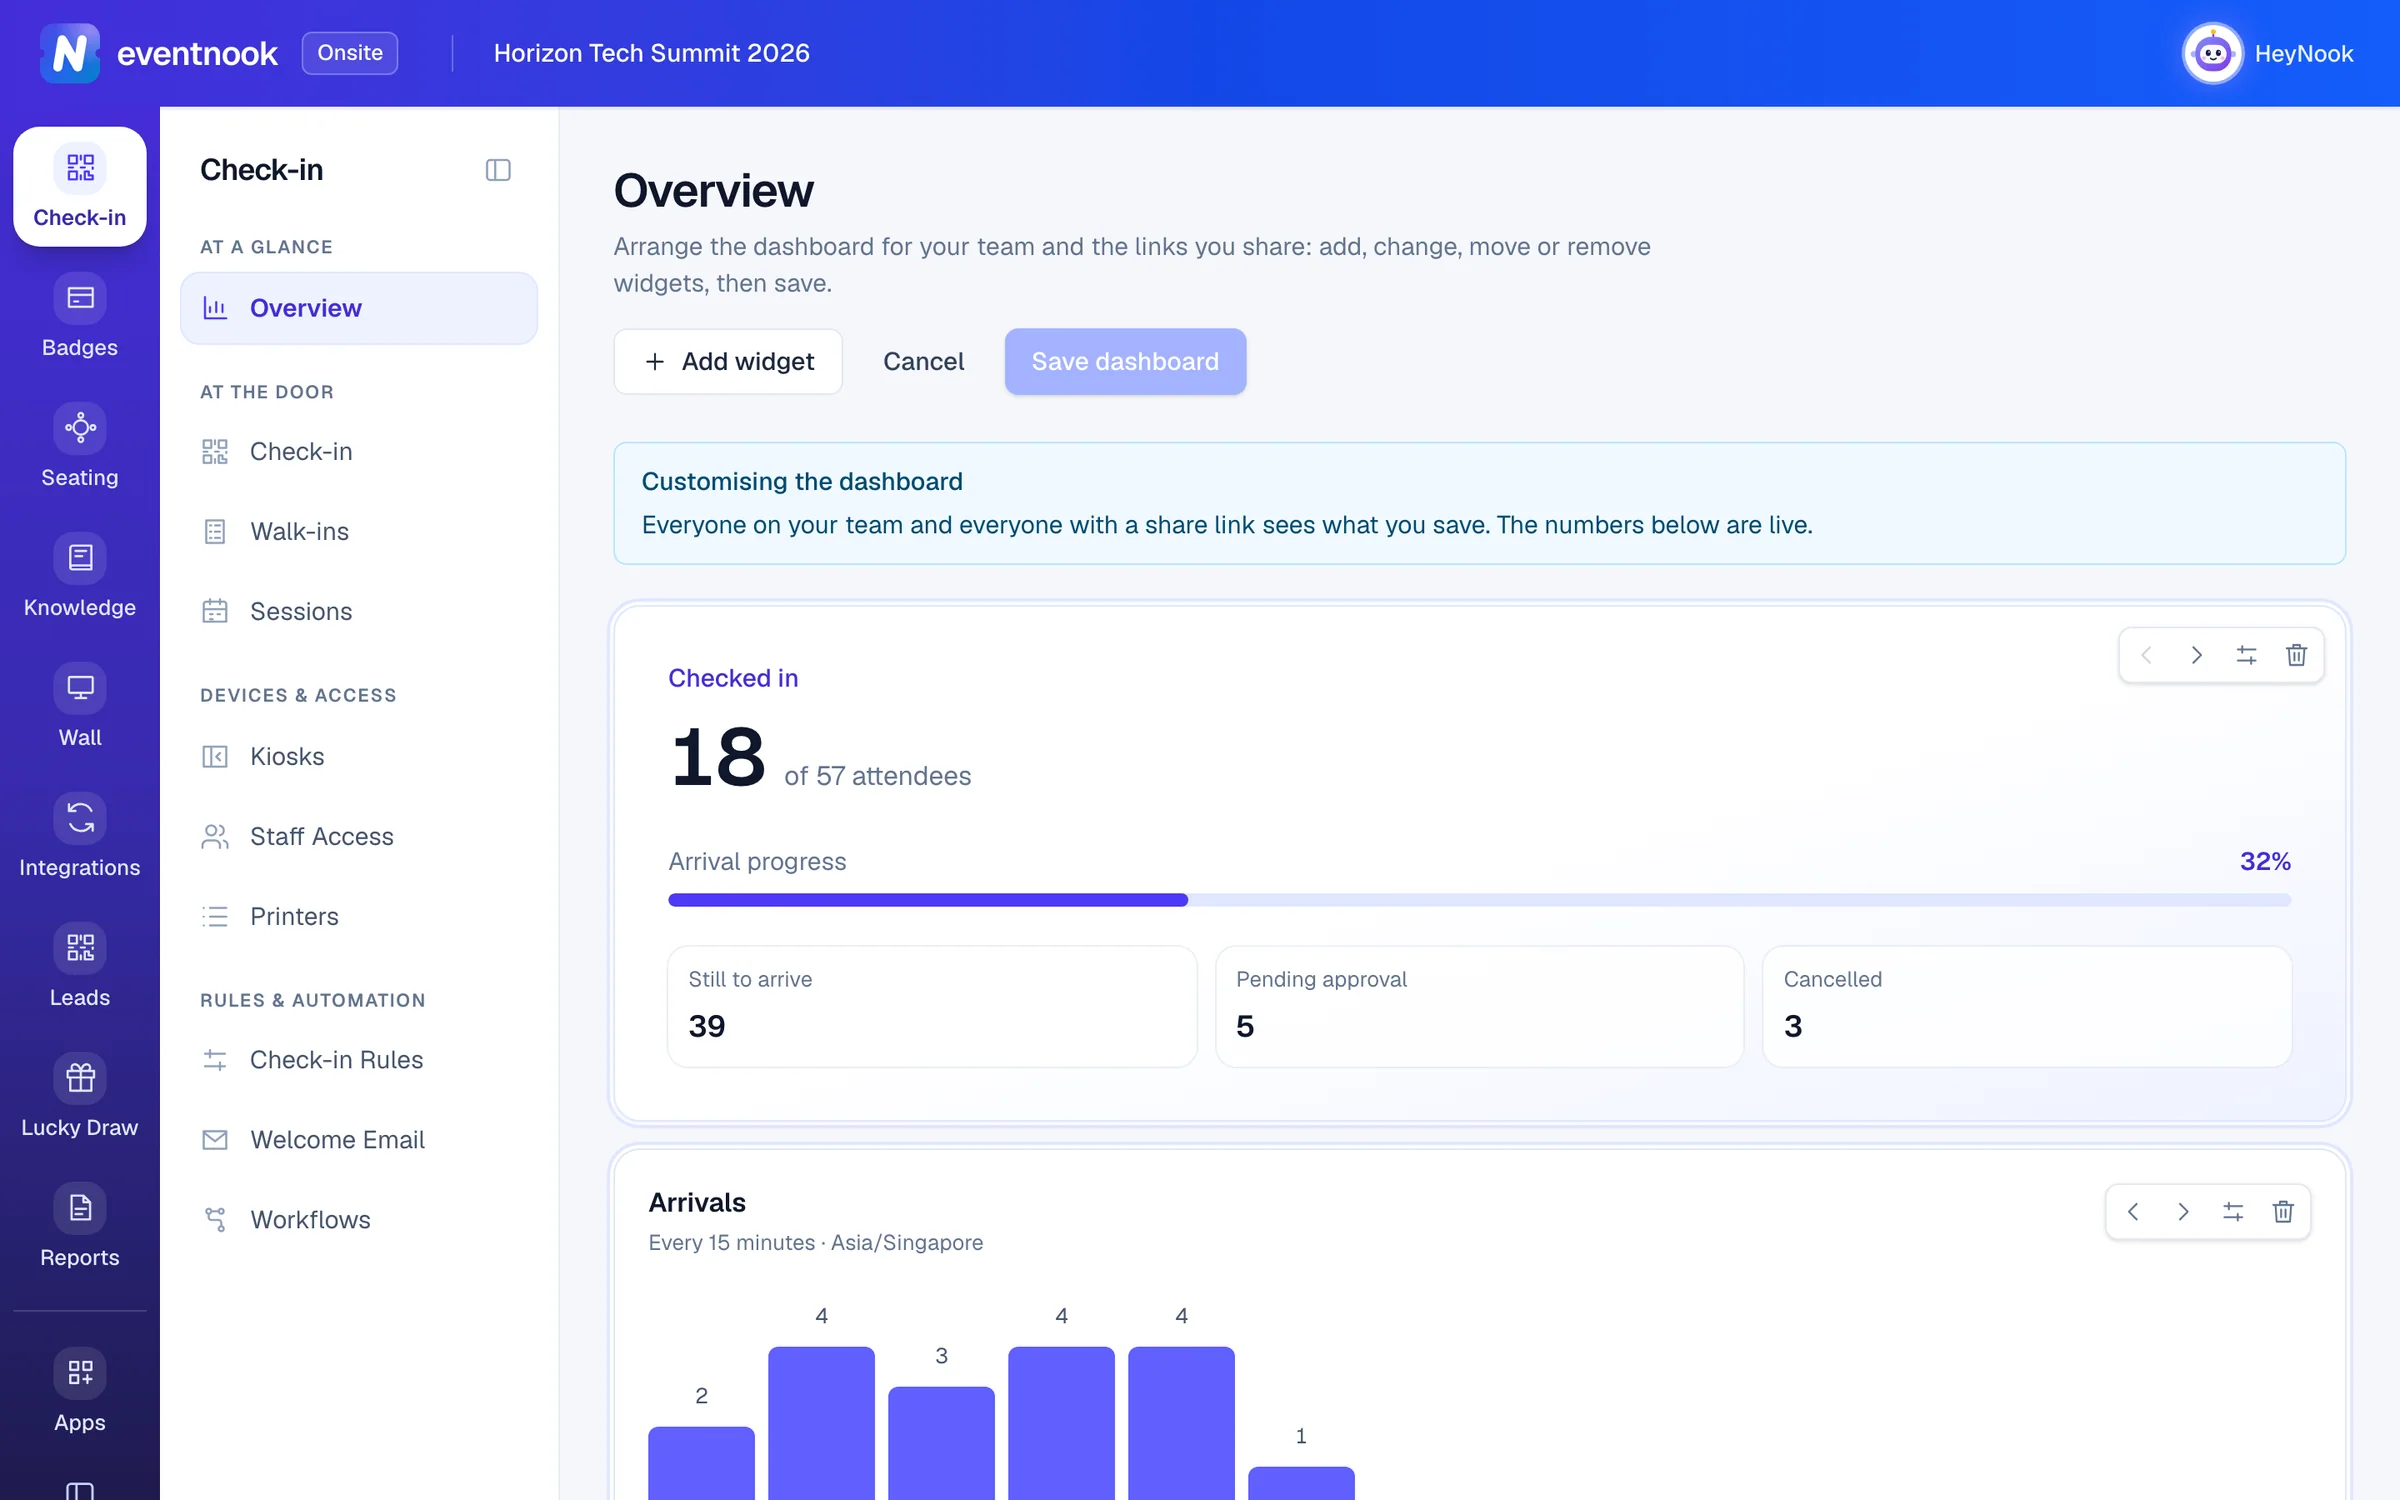
Arrange the dashboard#
The dashboard on the Overview is the team's. Everyone on the event and everyone with a share link sees the layout you save.
- Open Overview and click Customise.
- Click Add widget and choose what it shows.
- Set its details. The preview beside them shows the event's own numbers, live.
- Click Add to dashboard.
- Move, change or remove widgets with the buttons on each one: Move earlier, Move later, Edit and Remove.
- Click Save dashboard.
Cancel leaves the dashboard as it was saved. A dashboard holds up to 24 widgets.
- 1Add a count, a chart or a table
- 2Move, change or remove each widget
- 3Save it for your team and every share link
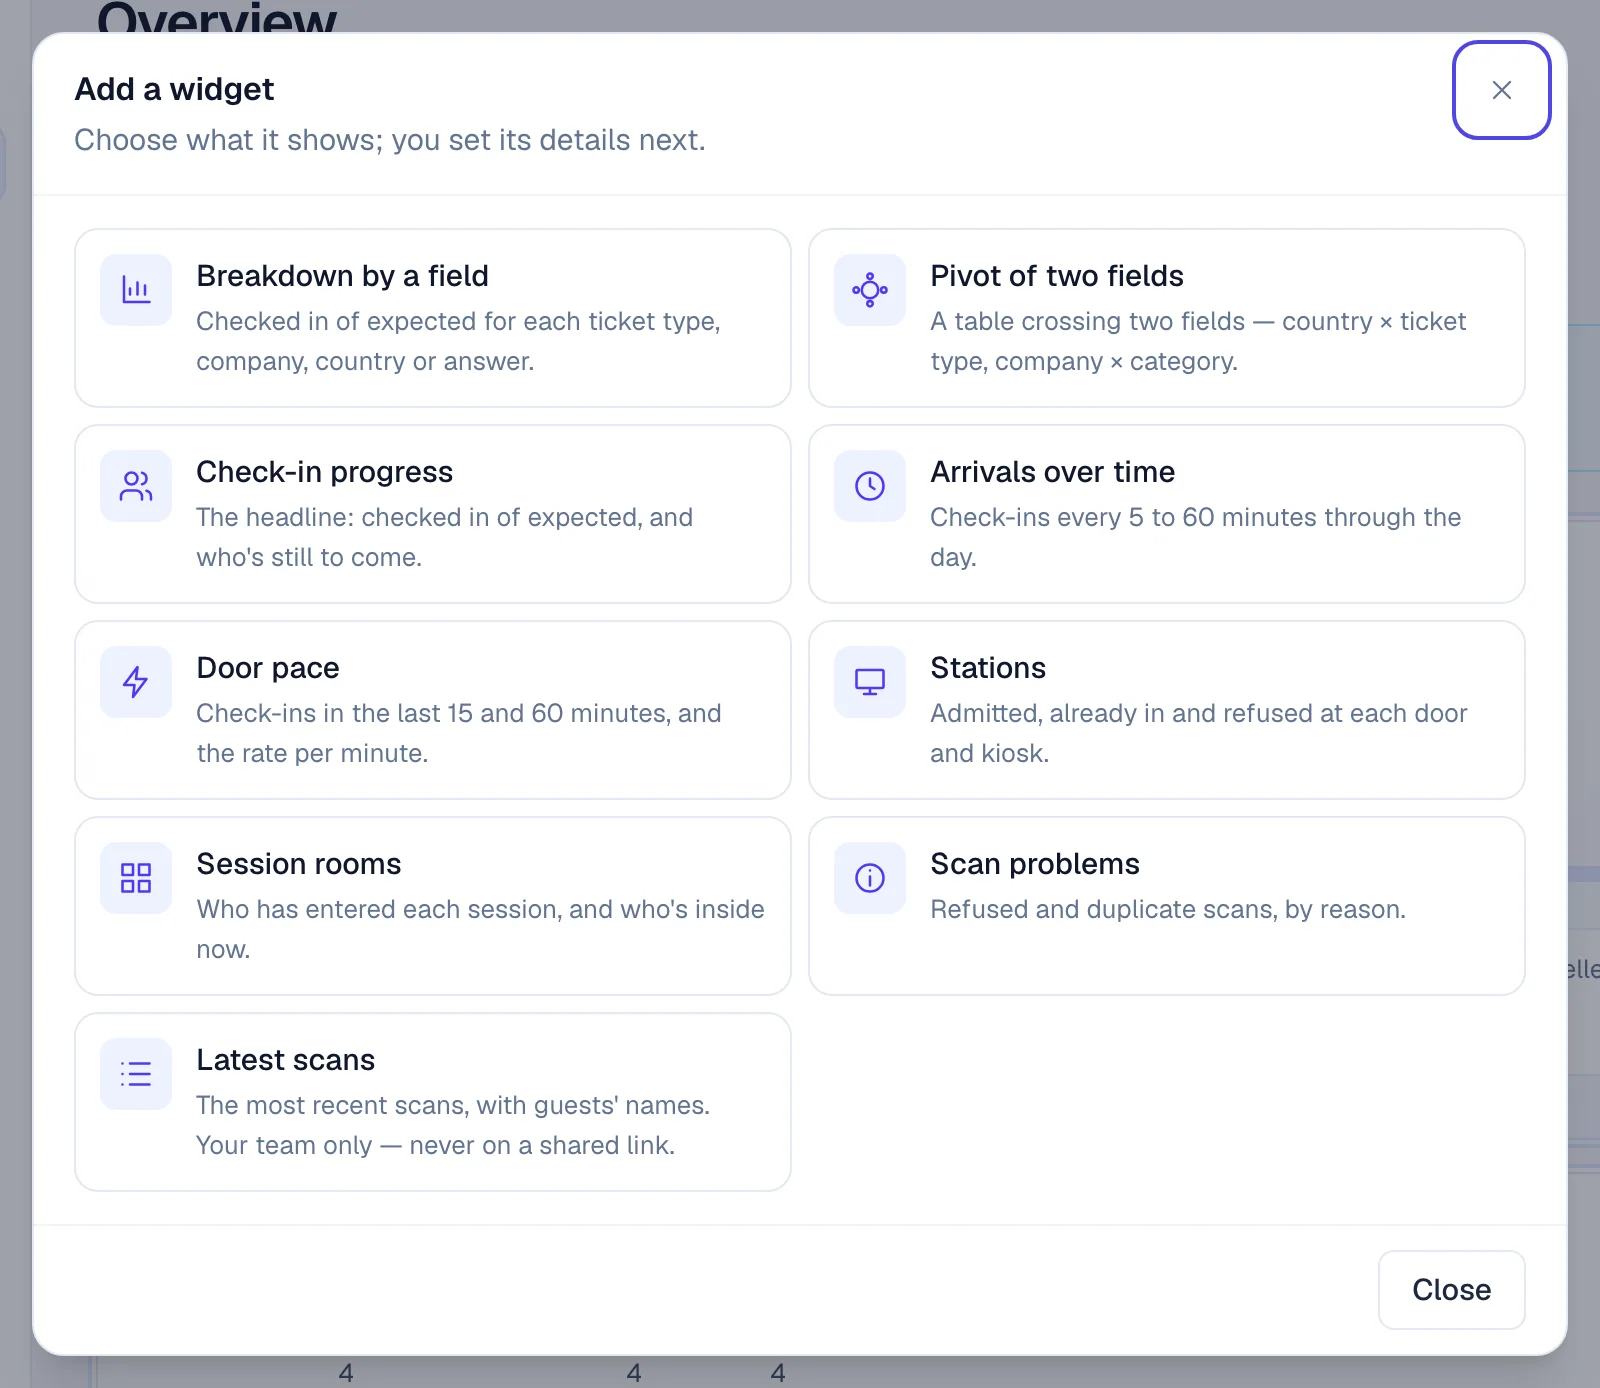
| Widget | What it shows |
|---|---|
| Breakdown by a field | Checked in of expected for each ticket type, company, country or answer. |
| Pivot of two fields | A table crossing two fields, such as country by ticket type. |
| Check-in progress | The headline: checked in of expected, and who's still to come. |
| Arrivals over time | Check-ins every 5 to 60 minutes through the day. |
| Door pace | Check-ins in the last 15 and 60 minutes, and the rate per minute. |
| Stations | Admitted, already in and refused at each door and kiosk. |
| Session rooms | Who has entered each session, and who's inside now. |
| Scan problems | Refused and duplicate scans, by reason. |
| Latest scans | The most recent scans, with guests' names. Your team only: never on a shared link. |
A widget's details#
| Setting | What it does |
|---|---|
| Break down by | The field to count by: ticket type, company, job title, category, tags, or a choice or country question on the form. |
| Rows, Columns and Each cell shows | For a pivot: the field down the side, the field across the top (the biggest six, the rest as Other), and the figure in each cell. |
| Order and Groups shown | Which groups come first, and how many: Top 5 to Top 50. |
| Only these ticket types | Narrow it to some tickets. None ticked: every ticket the door admits. |
| Show as | Bars or Table. |
| Over | For stations and scan problems: from the last 15 minutes to the last 24 hours. |
| Every | For arrivals: the length of each bar. |
| Title | Leave it blank for the widget's own title. |
| Width on a wide screen | A third, Half or Full width. |
Share the dashboard with your crew#
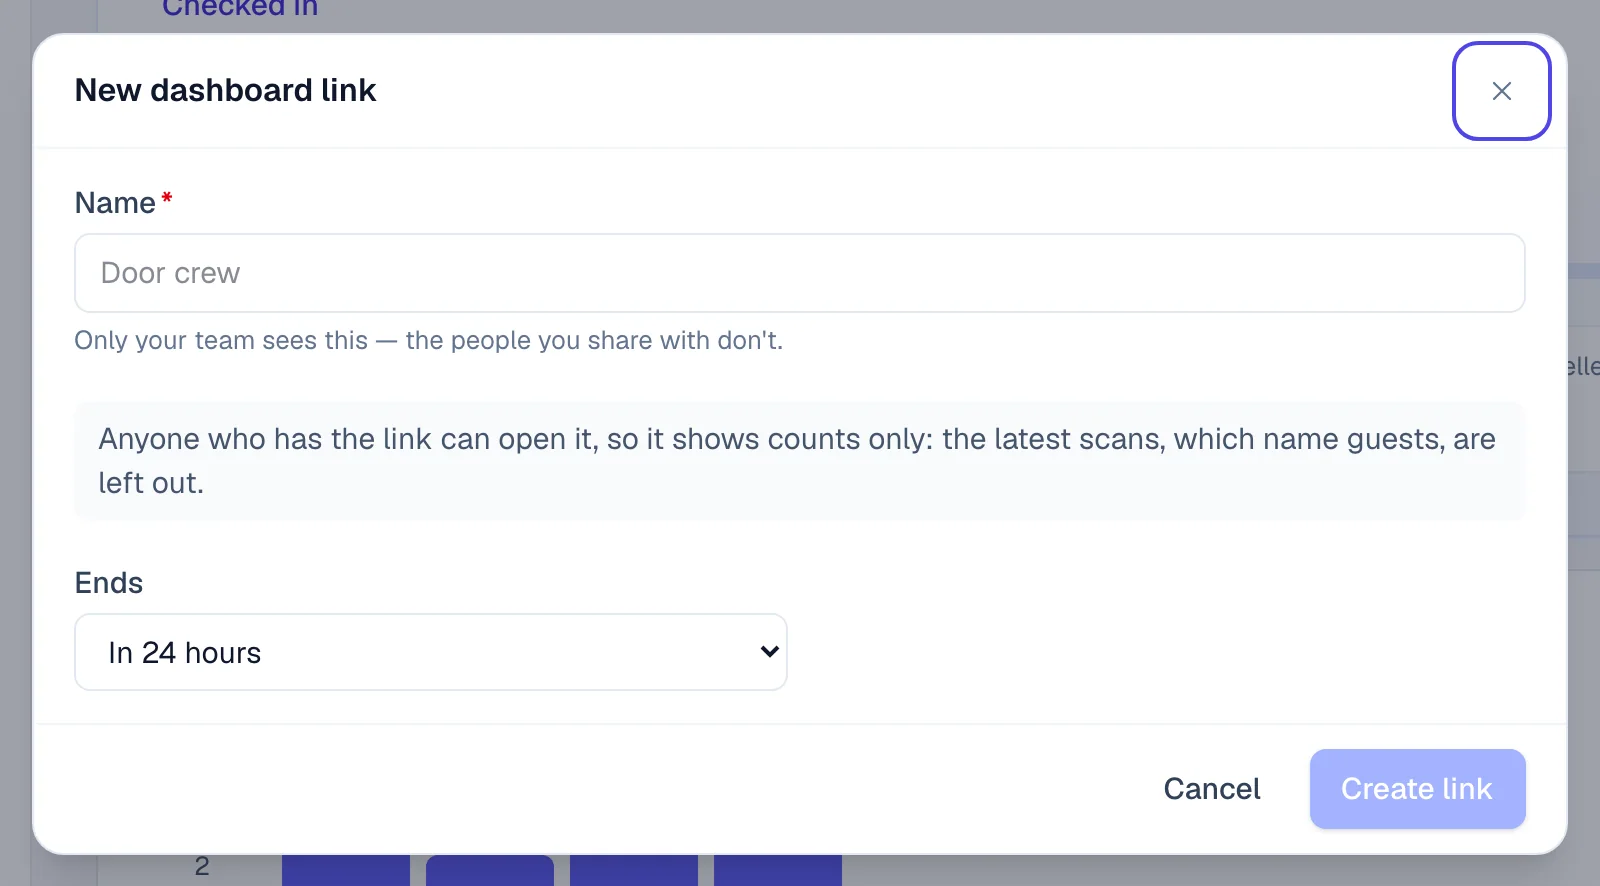
A share link opens the dashboard for people with no EventNook account: the door crew's group chat, a supervisor's phone, a screen at the registration desk. They see it live, with counts only. Latest scans, which names guests, is left out, and they can't change anything.
- On the Overview, click Share.
- Click New link.
- Type a Name, such as
Door crew. Only your team sees it. - Choose when the link Ends: in 12 hours, 24 hours, 3 days or 7 days, on a date and time you choose, or No end date — until I stop it. Default: In 24 hours.
- Click Create link.
- Click Copy link and send it, or click QR to show a code people can scan.
The shared page shows Live check-in and the time it was last updated, and refreshes every 10 seconds.
Each link in Share the dashboard shows when it ends and when it was last opened. For each one you can:
- Edit: rename it or change when it ends.
- New link: make a new address. The current link and its QR code stop working at once.
- Stop: the link and its QR code stop working at once. This can't be undone; make a new link to share again.
An event can have up to 20 dashboard links.
Review the check-in and printing log#
The log is every check-in attempt, refused ones included, and every undo, check-out, badge print, ticket shown on a staff screen, detail changed and guest substituted at the door. Each entry says who did it, at which station, on which device and from which app. Times are at the venue.
- Open Reports › Check-in & printing log.
- Click a total at the top to see only those entries: Checked in, Refused, Undone, Badges printed, Reprints, Tickets shown, Details changed or Needs a look. Click it again to see everything.
- Narrow it further with Guest, What, Where (the event check-in or a session), Station, By, From and To. Clear takes every filter off.
- Click an entry to see everything recorded about it.
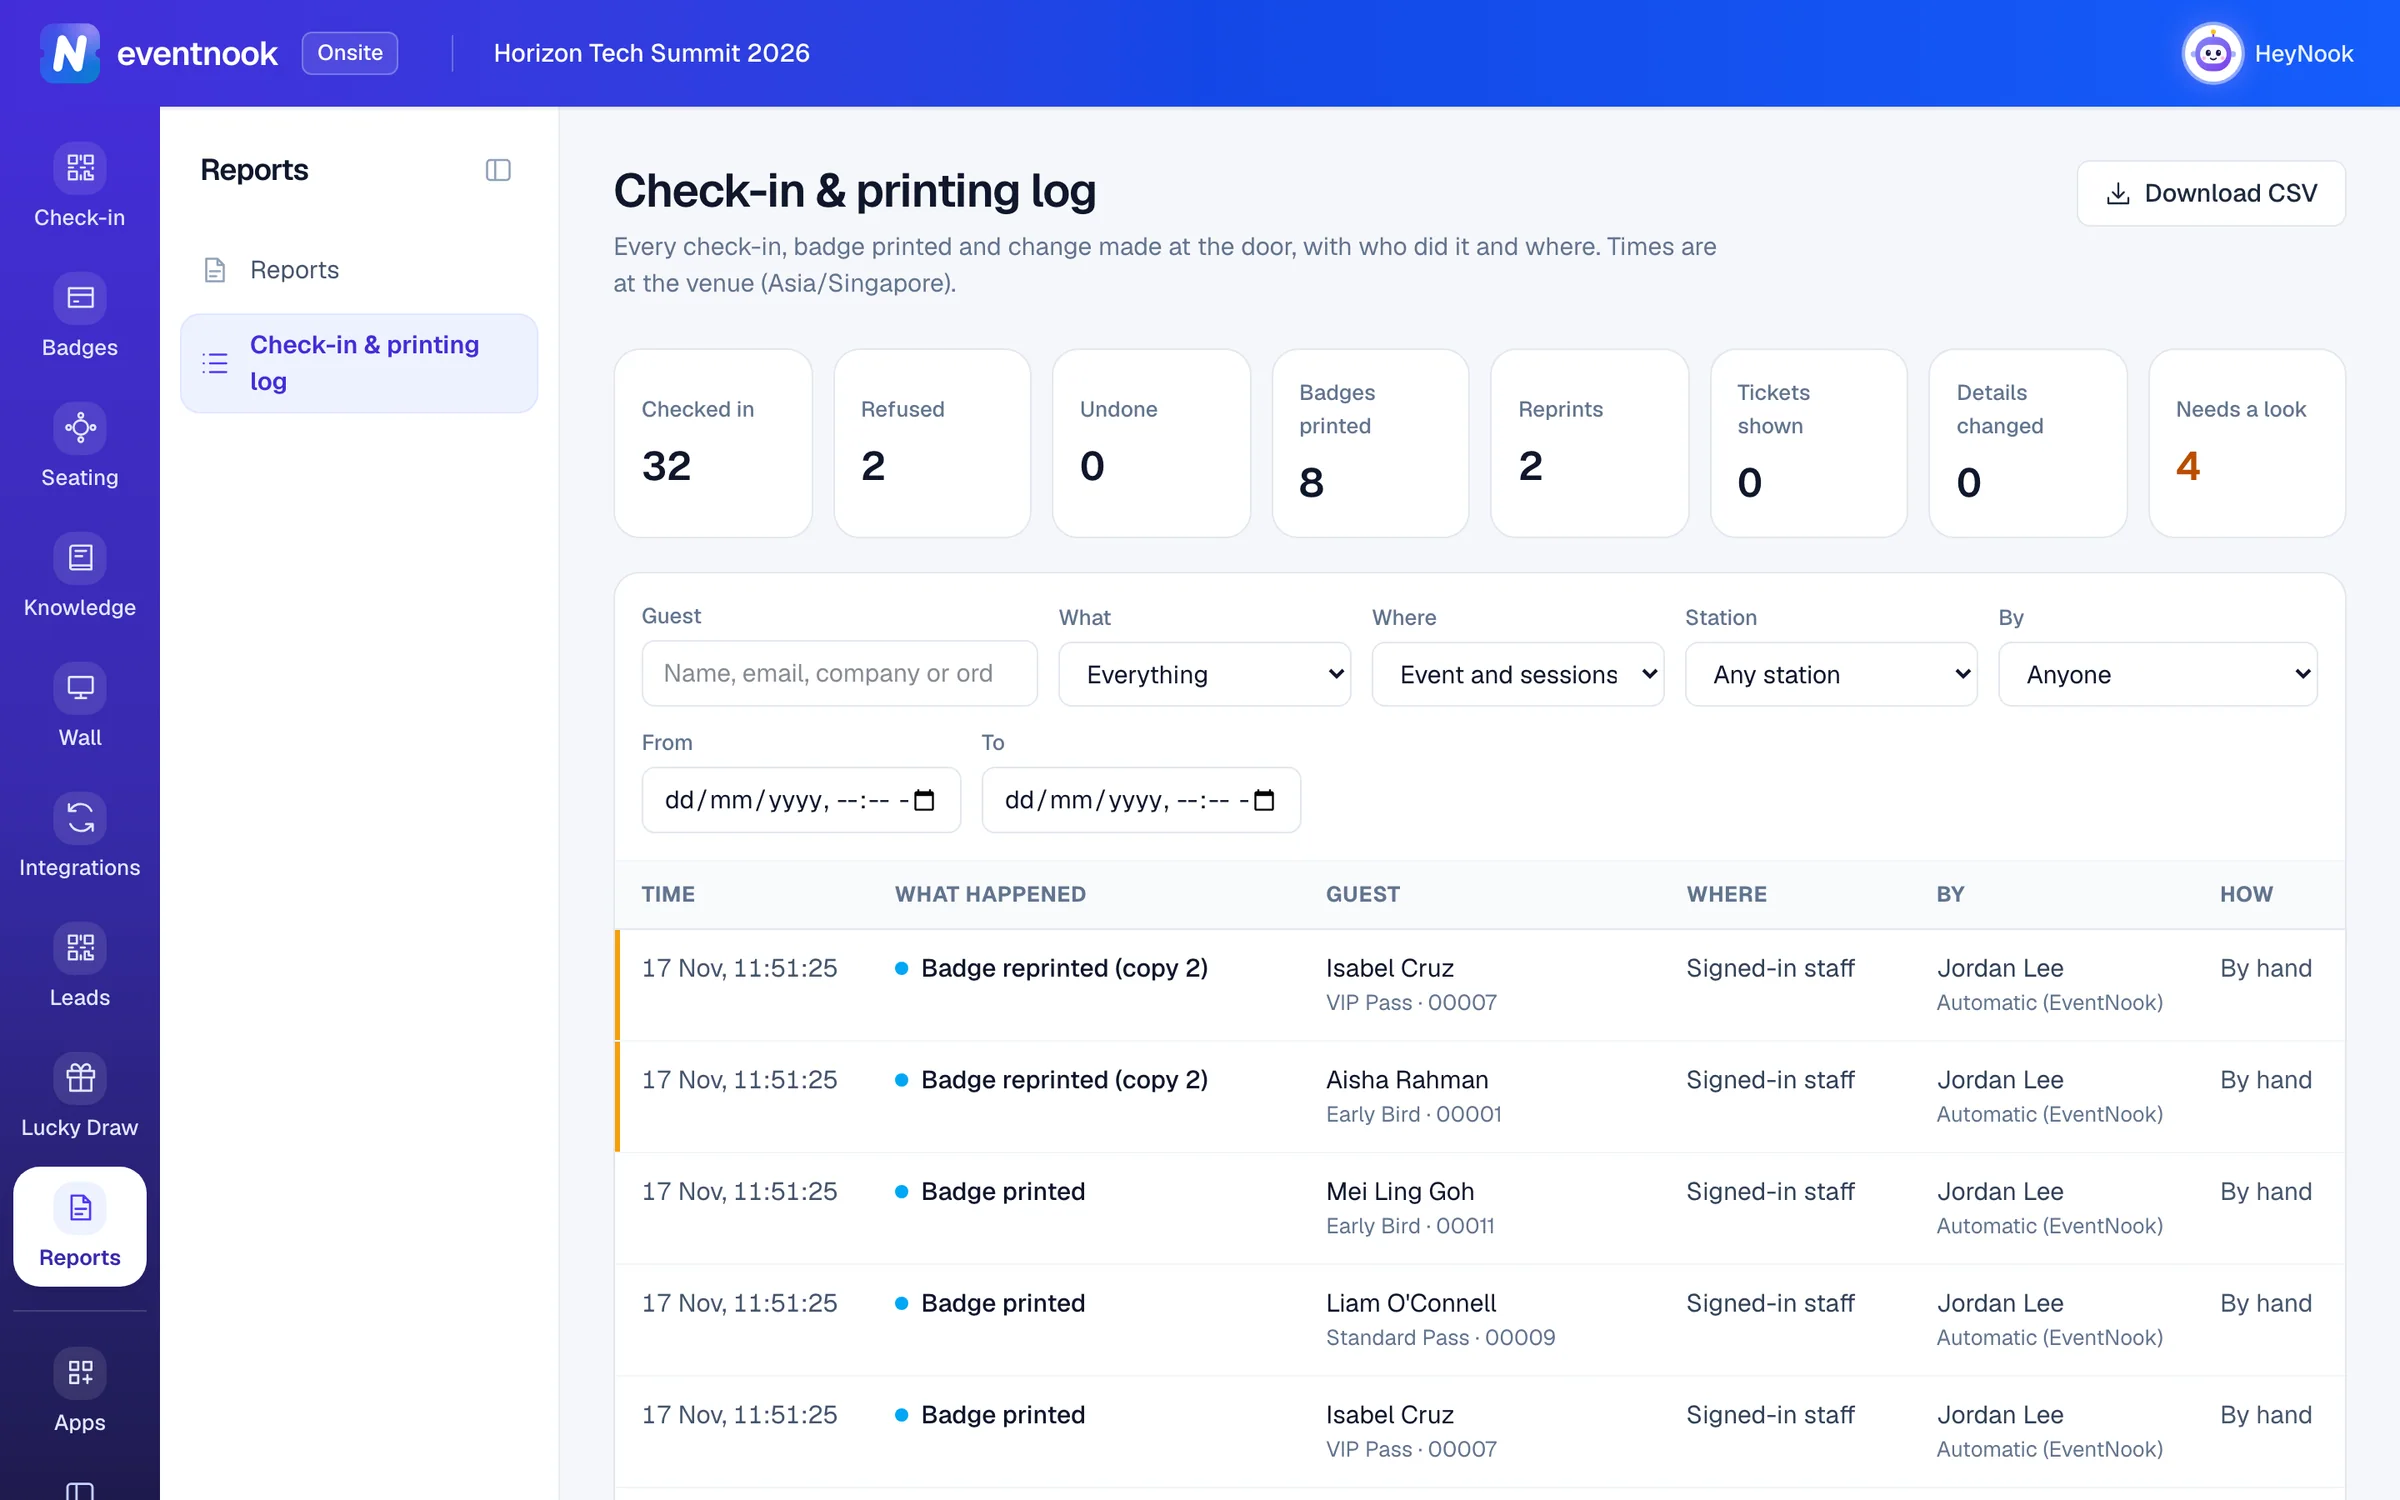
- 1The entries to look at first in a review
- 2Find a guest by name, company or order number
- 3Download what the filters show as a spreadsheet
The newest entries come first. Click Show more at the foot of the list for older ones. An entry made while a device was offline is marked saved offline, with the time it was made on the device.
Needs a look gathers what a security review starts with: refused scans, scans saved offline, undos, tickets shown on a staff screen, details changed, guests substituted, organiser overrides and badge reprints.
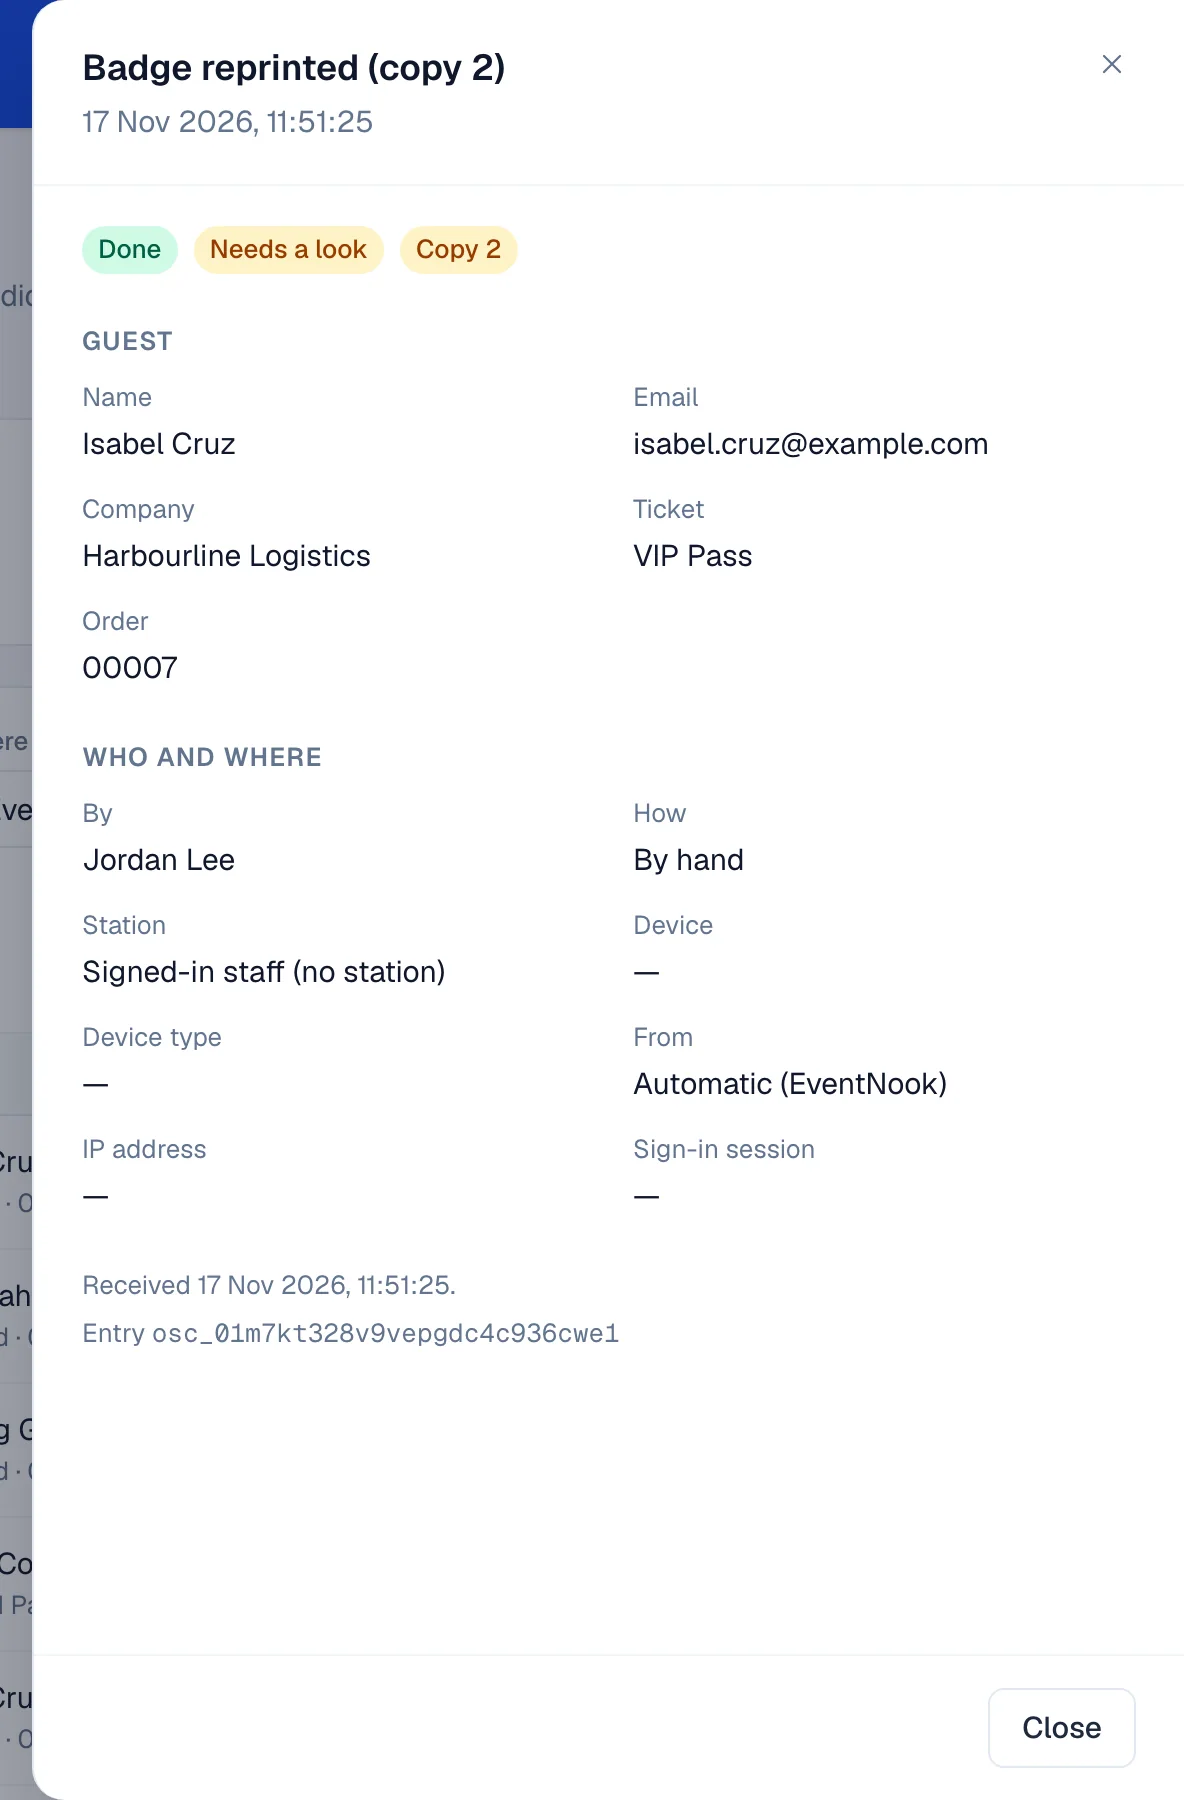
An entry's details show whether it was Done, Already done or Refused, the guest, what changed or who the guest replaced, and Who and where: the person, how they did it (QR scan, Search, Kiosk, Walk-in desk and so on), the station, the device and the app. Reprints are numbered, such as Copy 2. People who can change Onsite's set-up also see the IP address and sign-in session.
To keep a copy, click Download CSV. The file holds the entries the filters show.
If something looks wrong#
- The dashboard says "Someone else saved the dashboard". Another person saved while you were arranging it. Click Reload to see their changes, then make yours again.
- There is no Customise or Share button. Your role can see the dashboard but not arrange or share it.
- A shared link says "This link isn't available" or "This link has ended". It was stopped, replaced or reached its end date. Send a new link.
- "Contact details are partly hidden for your role." Your role can't see guests' full emails, so emails in the log are partly hidden and can't be searched.
- There is no Download CSV button. The file holds guests' names and emails, so it needs a role that can export them.
- A check-in is missing from the log. The device that made it may still be offline. The entry arrives when the device reconnects.
Who can do this#
Everyone with access to the event can see the Overview. The Owner, Admin, Event Admin and Event Editor roles can arrange and share it, and add HeyNook's charts to it. The check-in & printing log is for roles that can read the event's reports; downloading it needs the Owner, Admin, Event Admin or Event Editor role.
Related guides
- Get started with OnsiteOpen Onsite for your event, find your way around its menu, and see how the doors are doing on the Overview.
- Check in attendeesScan tickets or find guests by name on the Check-in screen, read the verdict, undo a mistake, and keep checking in when the venue Wi-Fi drops.
- Check people in to sessionsSet up the talks, workshops, meals and booths you check in separately from the event, decide who may enter and how entries count, and check people in at the room.
Still stuck? In EventNook, ask HeyNook. It knows the page you're on and your event, and can take you straight to the right setting.