Register walk-in guests
Register guests who arrive without a registration at a walk-in desk, scan their business card to fill in the form, check them in and print their badge, and let your crew run the desk on their own phones.
Where to find it: Onsite › Check-in › At the door › Walk-ins
The walk-in desk registers guests who arrive without a registration. You fill in the event's own registration form for them, or scan their business card to fill it, and they can be checked in and have their badge printed in the same step. The desk takes no money: a paid ticket is filled in at the desk and paid on the guest's phone.
Open Check-in › At the door › Walk-ins in Onsite. It has three tabs: Desk, Crew access and Settings.
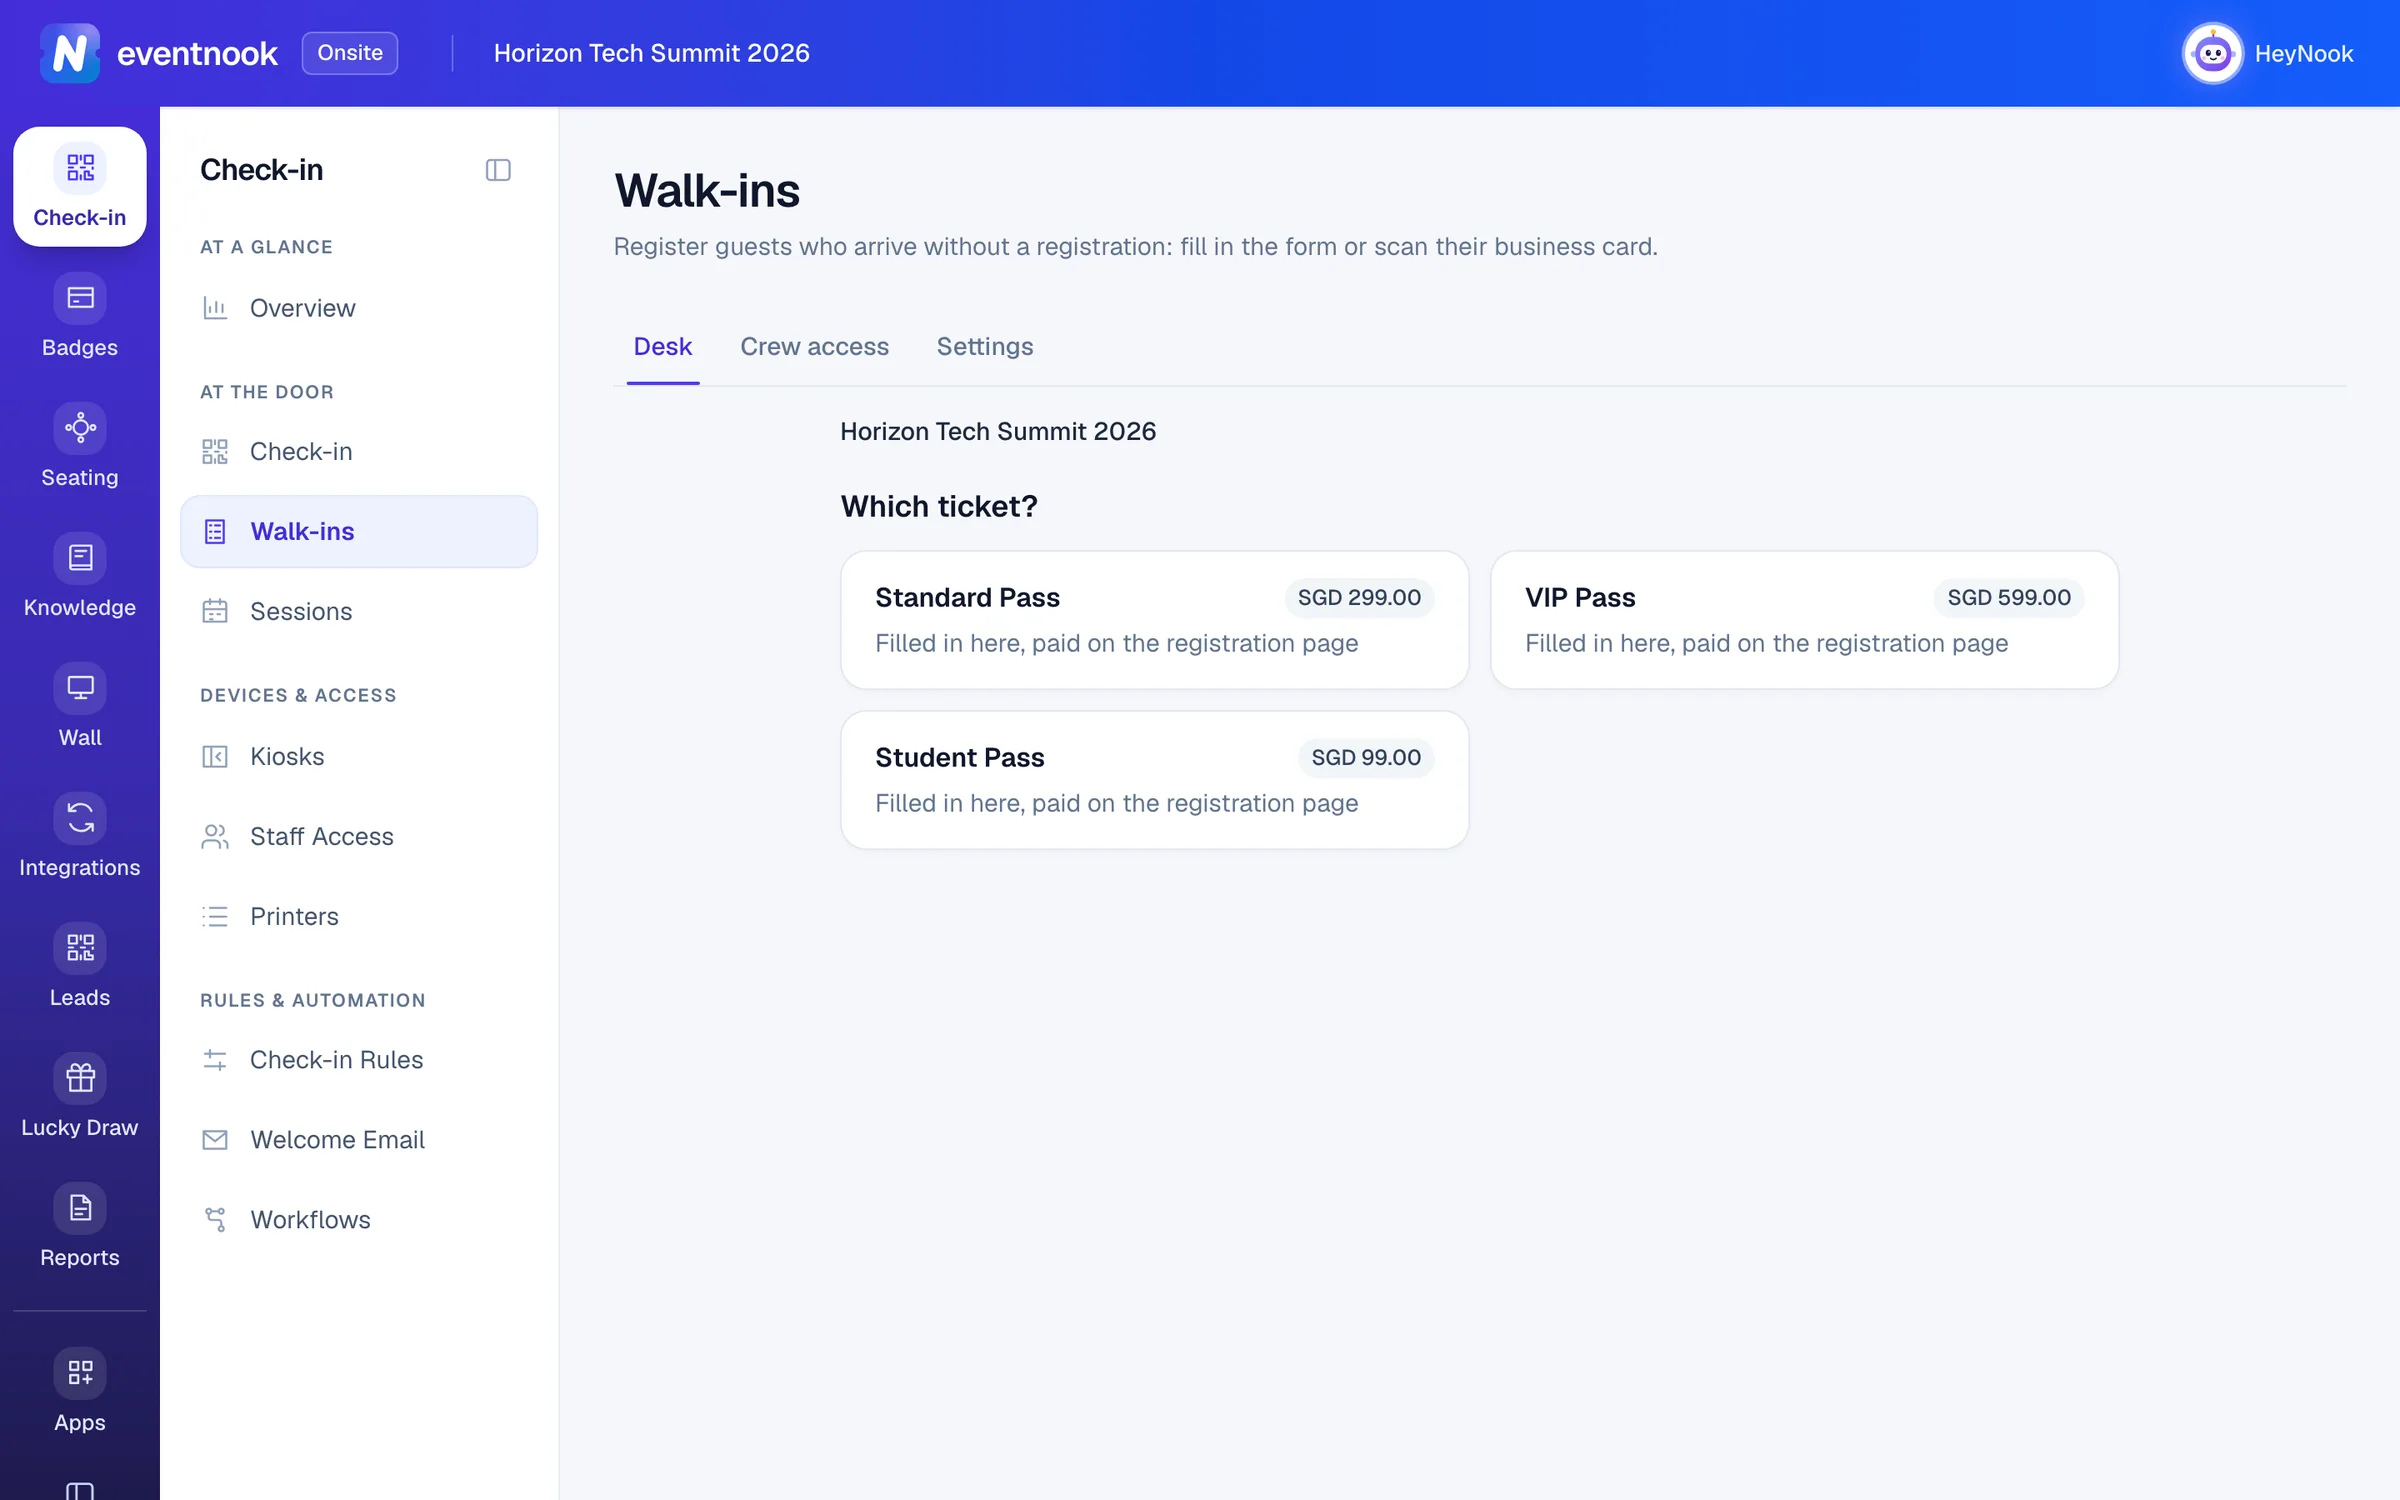
- 1Choose the guest's ticket to start
- 2Let your crew run the desk on their own devices
- 3Choose the desk's tickets and card scanning
Before you start#
- The event must be published and taking registrations. Otherwise the desk shows Registration is closed and why.
- The desk offers every ticket on sale on your registration page, or the ones you choose under Settings.
- To register people at the desk with your own account, your role must be able to register people. Crew without an EventNook account join with a walk-in access code instead (see Let your crew run the desk).
Register a free walk-in#
- On Desk, under Which ticket?, choose the guest's ticket. With one free ticket to offer, the form opens straight away.
- Fill in the form with the guest. Optional: click Scan business card first (see below).
- Choose what happens next with the boxes beside the button: Check in, Print badge and Email confirmation. This device remembers your choice for the next guest.
- Click Register and check in (or Register with Check in unticked).
- The desk shows Registered with the order number, and Checked in beside each guest. The badge prints when Print badge was ticked.
- Click Next guest.
Choosing a ticket holds a place for the guest while you fill in the form. Cancel releases it. If the form is left too long, the desk says That form timed out and its place was released. Start the guest again.
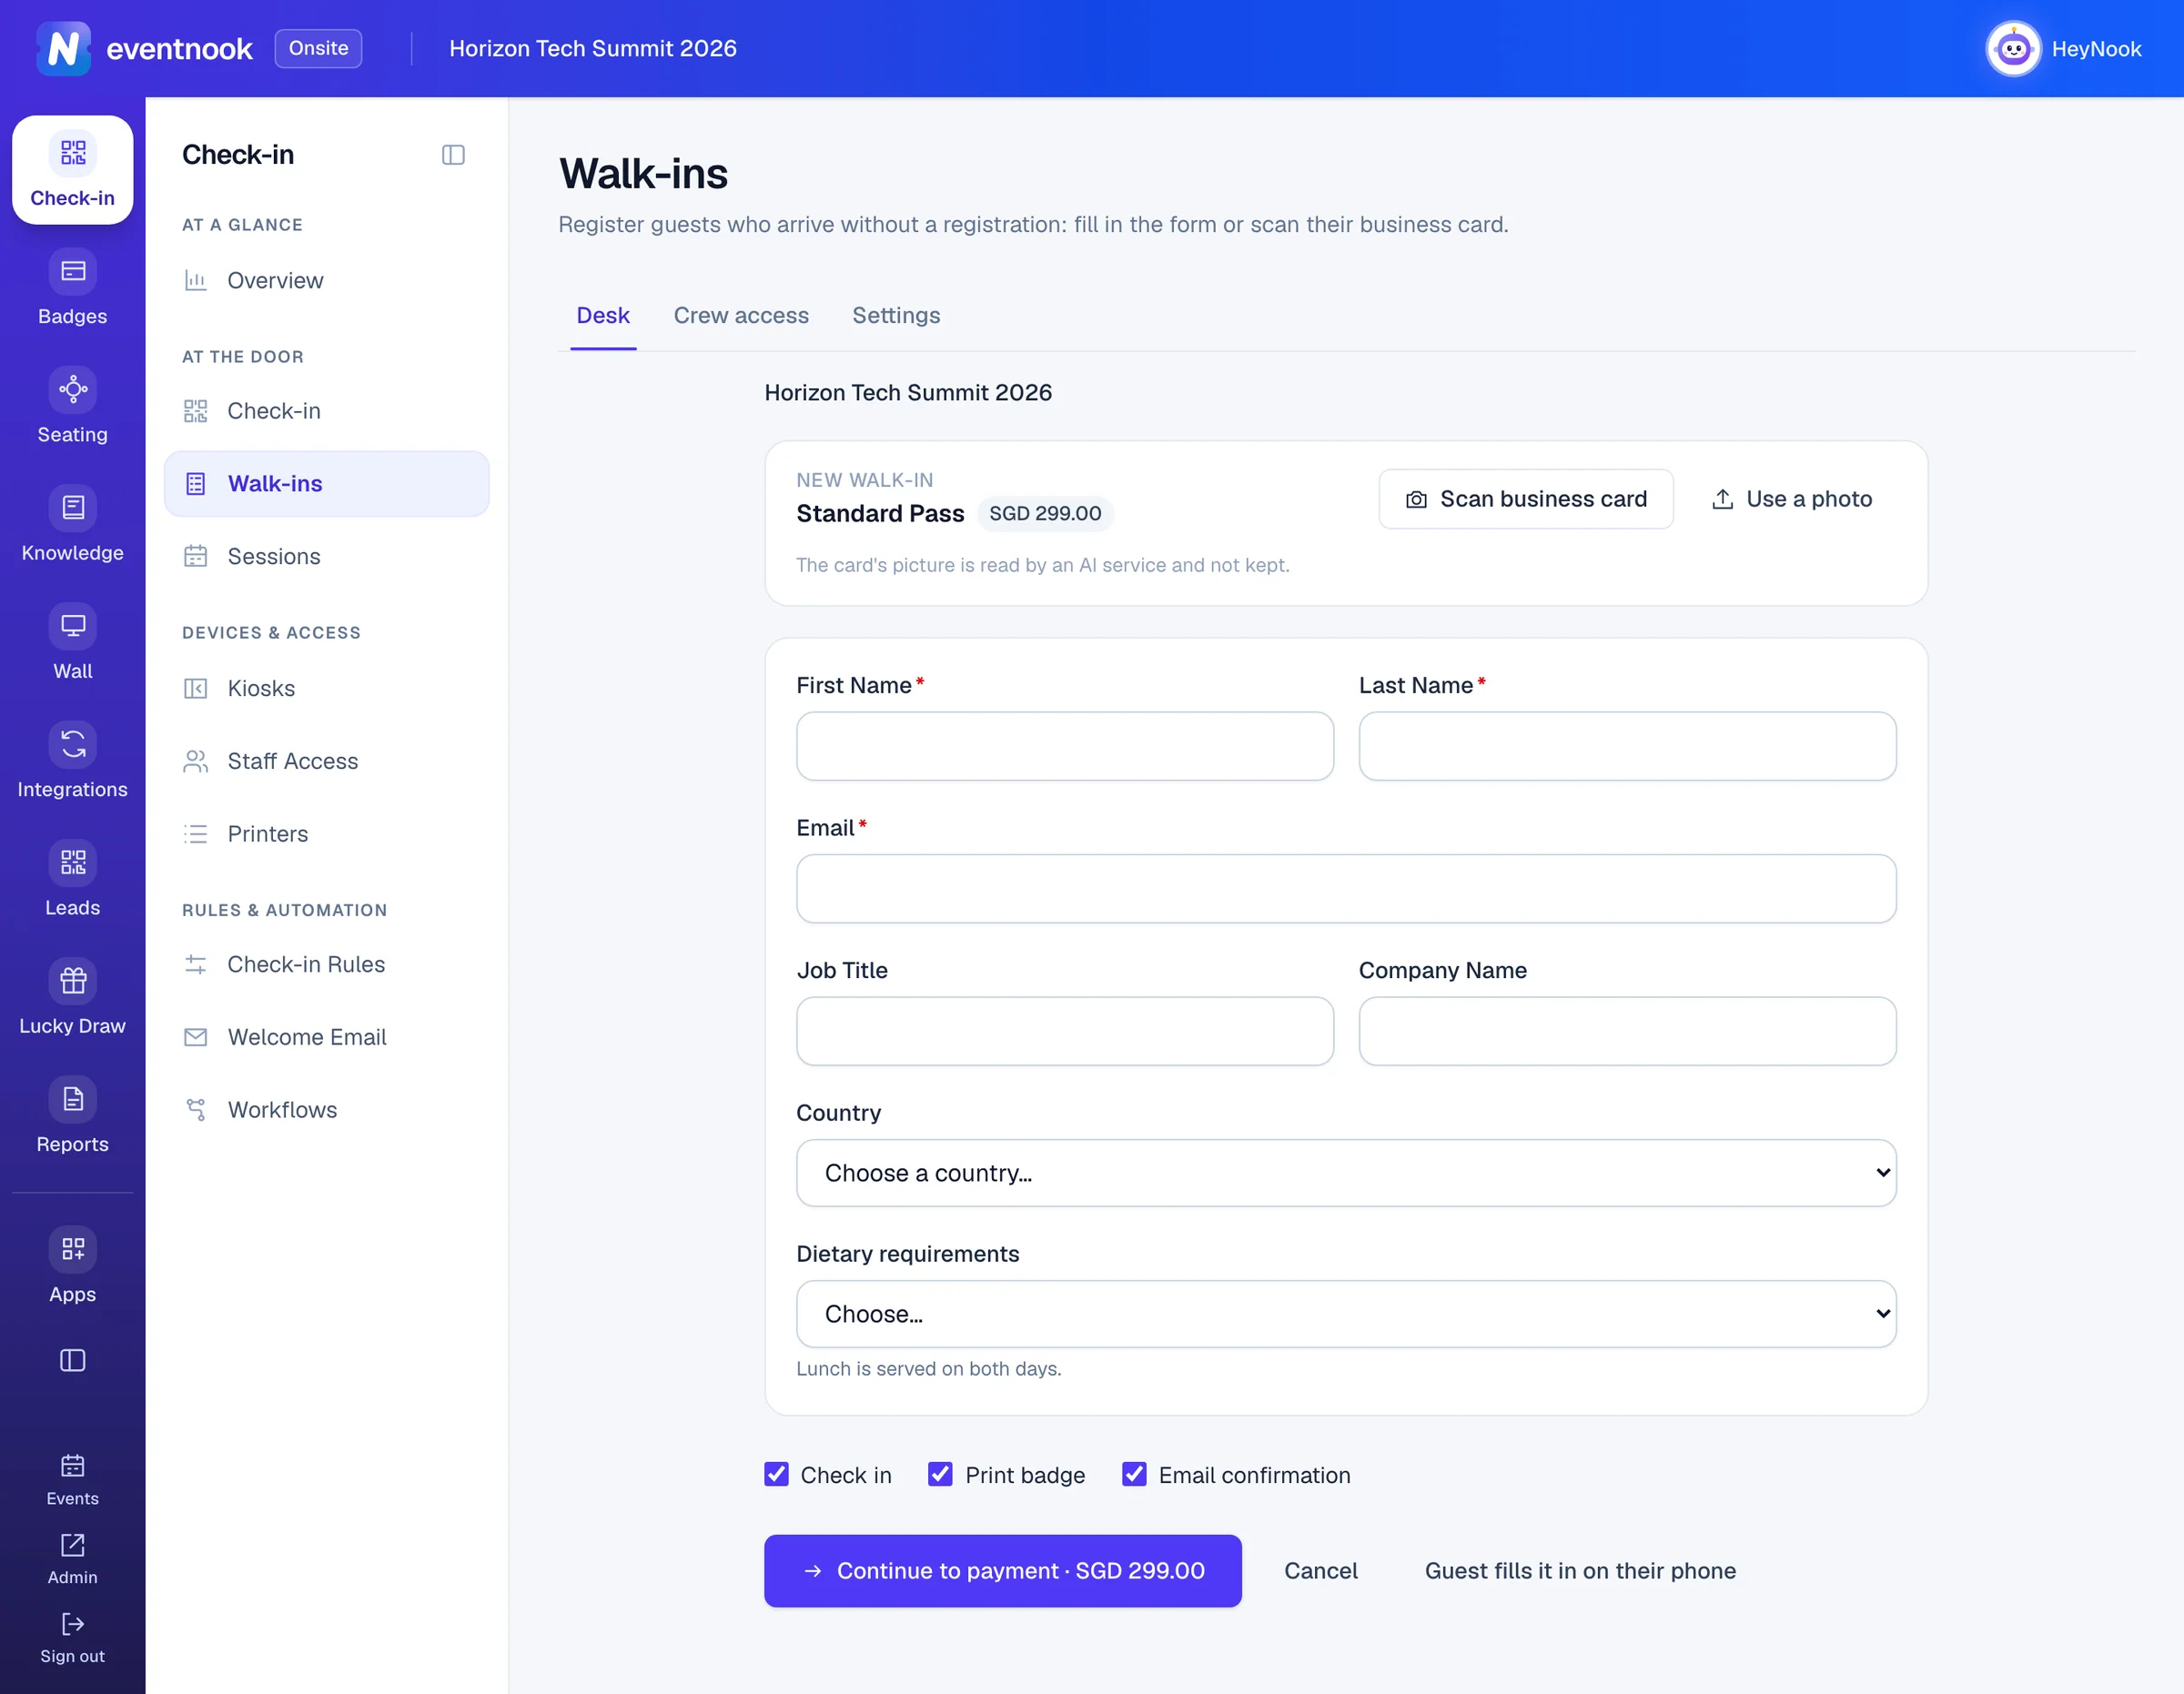
- 1Photograph the card and let AI fill in the form
- 2Check in, print the badge and email the confirmation
- 3Hand a paid ticket over to the guest's phone to pay
Scan a business card#
- On the guest's form, click Scan business card, or Use a photo to choose a picture.
- Hold the card flat inside the outline, in good light, and click Read card.
- The fields the card filled are marked From card. Check them with the guest and correct any.
The card fills only fields that are still empty: nothing already typed is overwritten. The picture is read by an AI service and not kept. Each card read counts towards your organisation's monthly AI allowance.
Register a paid walk-in#
- Choose a paid ticket. Its card says Filled in here, paid on the registration page.
- Fill in the form and the boxes as for a free ticket.
- Click Continue to payment. The desk shows Waiting for payment with a QR code and a link.
- Let the guest scan the QR code with their phone and pay there, or open the link on this device.
- The desk checks for the payment every few seconds. Once it arrives, the guest is registered and, if you ticked it, checked in.
The link works once, until the time shown: whoever opens it takes the registration over to pay. Click New link for another; the old one stops working. To serve the next guest meanwhile, click Next guest. A guest who pays later checks in at the door with the QR code in their confirmation email.
Let your crew run the desk#
Crew members can run the desk on their own phones or tablets, without an EventNook account. Their devices register guests and check in only the guests they register: they never see the guest list.
- Open the Crew access tab and click Add walk-in access.
- Name it after the desk or the team, such as "Registration desk crew", and click Create access. It gets an access code.
- Share the code: each crew member scans its QR code, or opens the address shown with the code, then types the Access code and Your name and clicks Open the desk.
Every device that joins is listed under its access, with its name and when it was last seen. You can rename, disable or remove a device, turn the access off, or give it an end time, as for staff access.
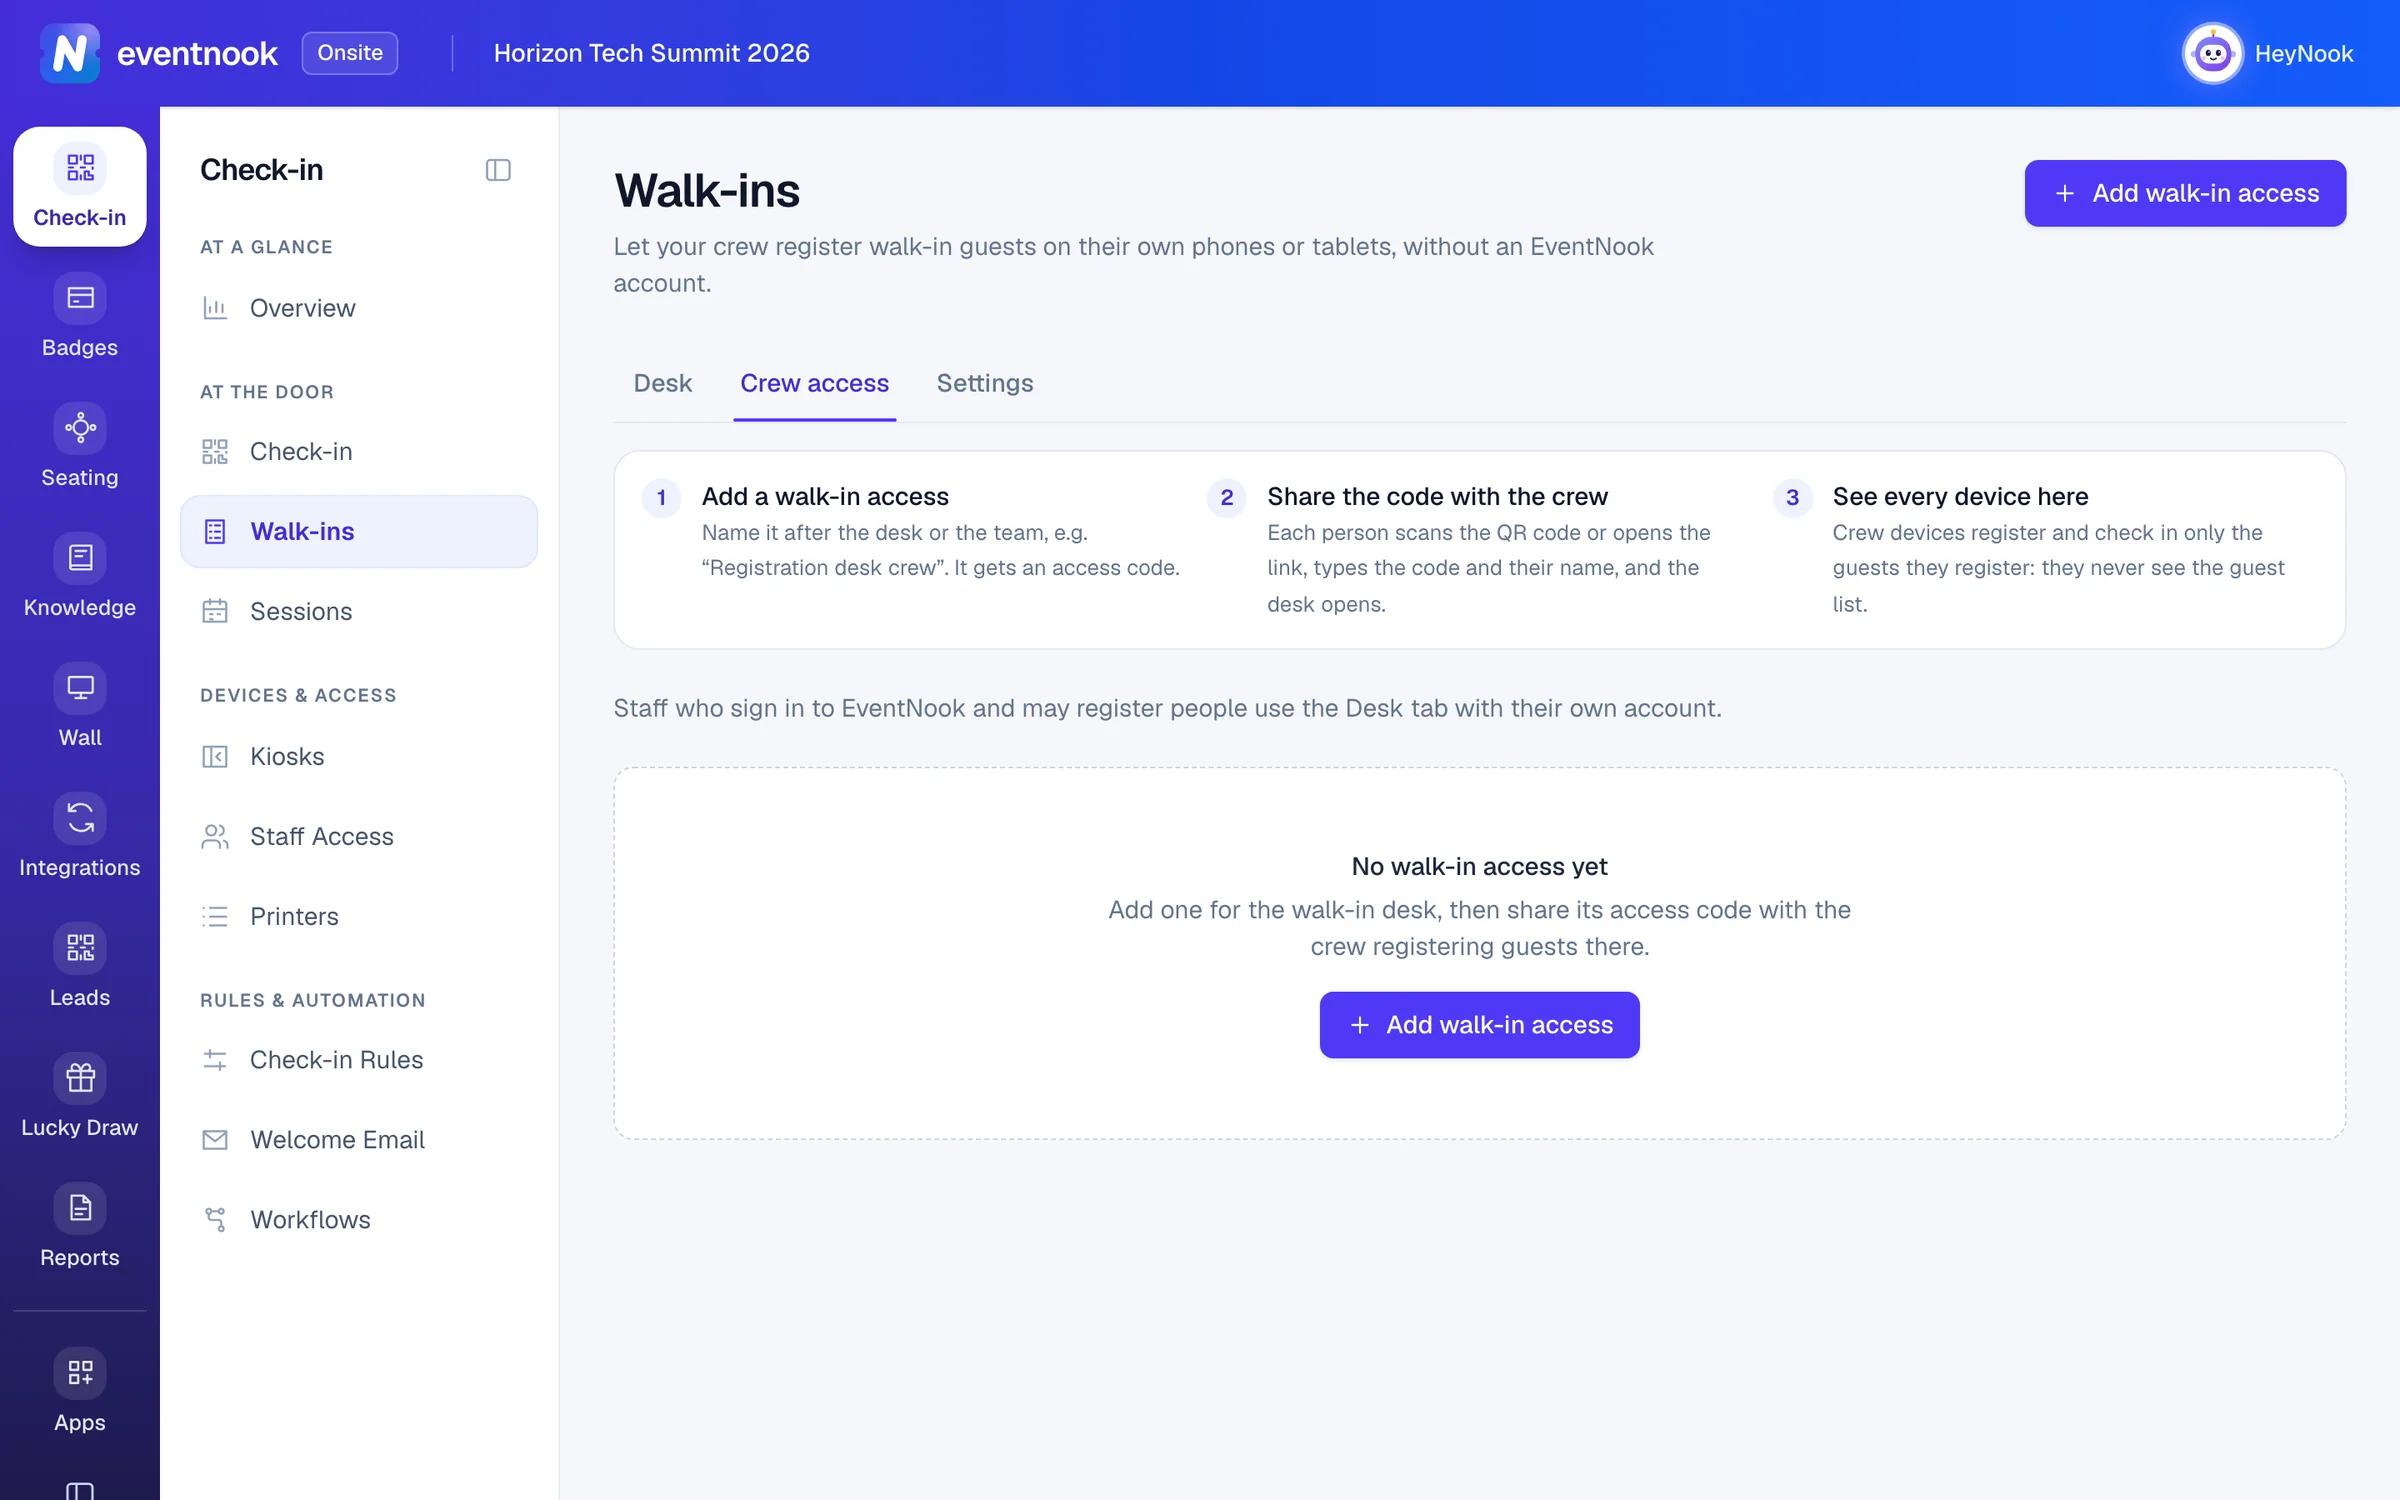
- 1Make an access code for the crew's phones and tablets
To choose whether crew devices print badges, and how, open More settings when you add or edit the access and set Badges. On a crew device, Leave takes the device off the desk until it joins again with the code.
Choose what the desk offers#
Open the Settings tab.
| Setting | What it does |
|---|---|
| Tickets at the desk | With none ticked, every ticket on sale on the registration site is offered. Tick tickets to offer only those; a hidden ticket you tick is offered at the desk only. Free tickets are registered at the desk; a paid one is paid on the guest's phone. |
| Business card scanning | Offer "Scan business card" shows the card scan on the guest's form. Default: on. |
Click Save. Every desk picks up the change the next time it starts a guest.
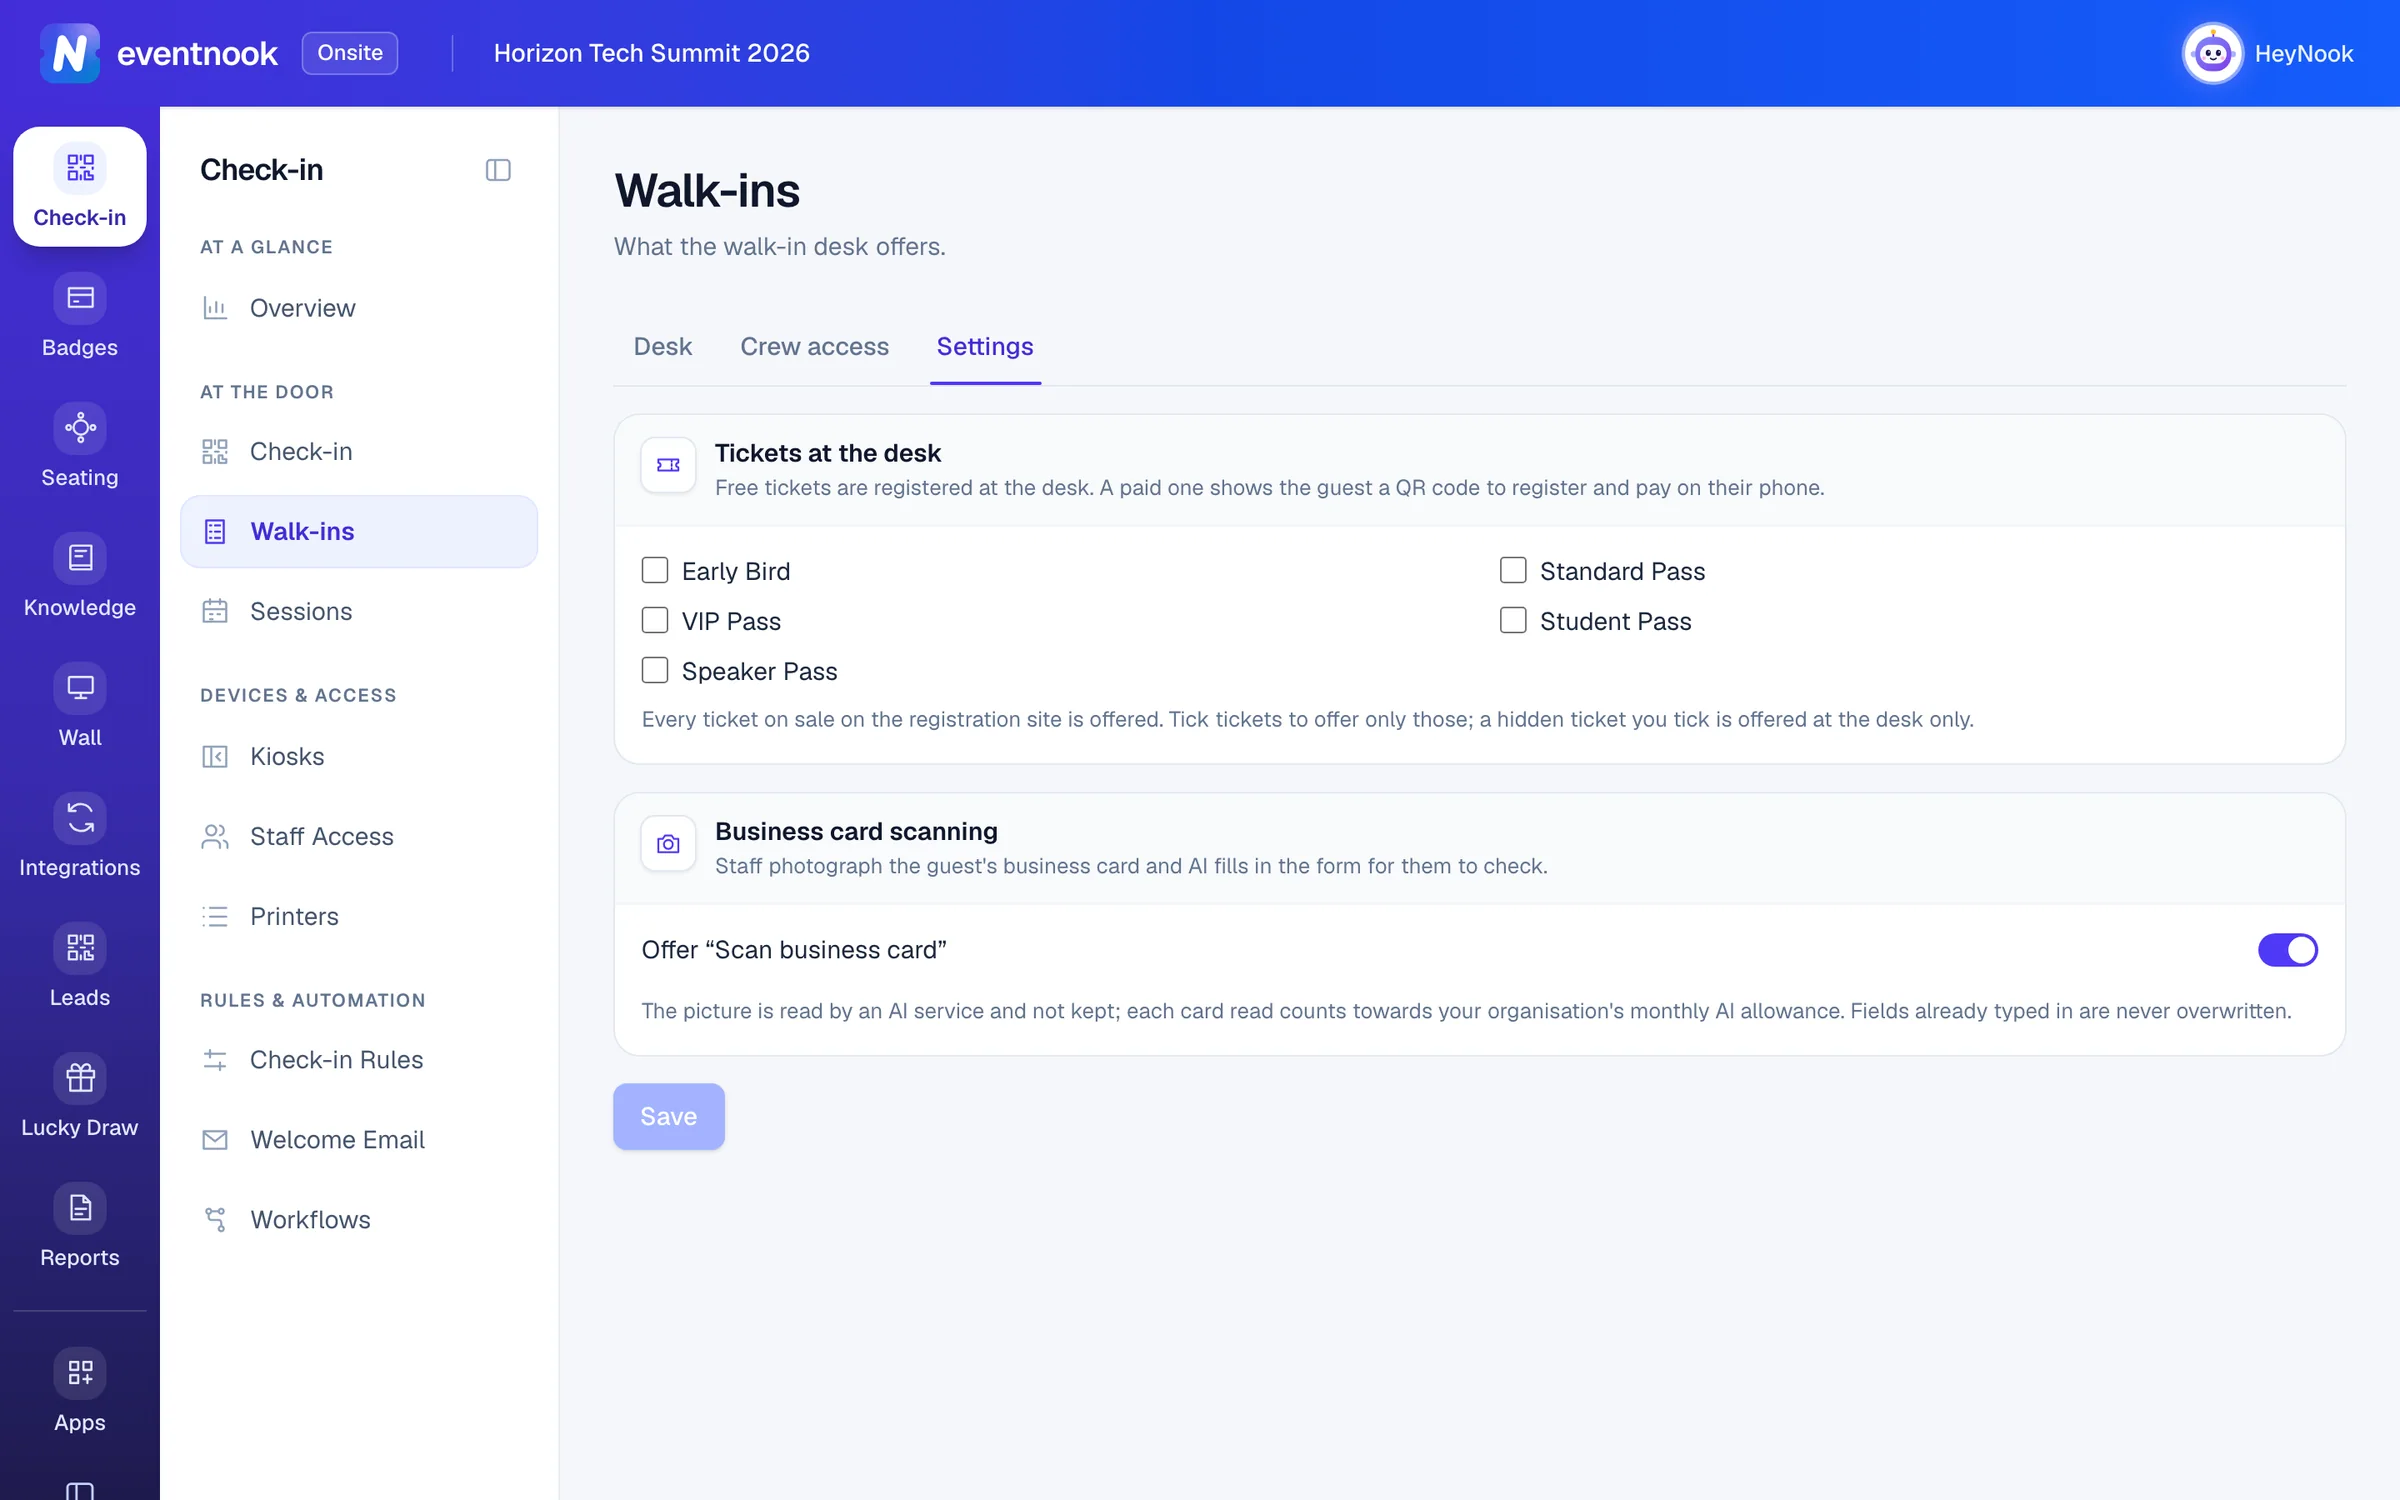
- 1Offer every ticket on sale, or only the ones you tick
- 2Offer the business card scan at the desk
If something looks wrong#
- "Your role cannot register people". Your role at this event can check in but not register people. Ask for a role that registers people, or join the desk with a walk-in access code.
- "No ticket to register". No ticket the desk offers is on sale. Check Settings › Tickets at the desk, and the tickets' sales dates in Event admin.
- "Not checked in" after registering. The check-in rules refused the guest, for example because the registration waits for approval or the ticket isn't admitted at the door. The registration stands: check them in from Check-in once that is sorted.
- "The card could not be read". Take it again in better light, or type the details.
- "This device no longer has access" on a crew device. It was removed from the desk, or the access ended. Click Join again with the current walk-in access code.
- "That registration ended unpaid and its place was released". The guest didn't pay in time. Start the guest again.
- "There is no badge template for this ticket. Create one under Badge Designer." Add a badge template that covers the ticket: see Design badges.
Who can do this#
Owners, Admins, Event Admins and Event Editors can use the desk with their own account, add walk-in access and change the desk's settings. Members and Event Analysts can't register people. Crew members with a walk-in access code can use the desk on their device only.
Related guides
- Check in attendeesScan tickets or find guests by name on the Check-in screen, read the verdict, undo a mistake, and keep checking in when the venue Wi-Fi drops.
- Set the check-in rulesDecide which tickets get in at the event check-in, whether pending registrations are admitted, badges and photos at the door, how long staff may undo, and what staff devices hold.
- Let staff check in on their own devicesGive your team and volunteers an access code so they can check people in on their own phones, tablets or laptops without an EventNook account, and stop any device at any time.
Still stuck? In EventNook, ask HeyNook. It knows the page you're on and your event, and can take you straight to the right setting.